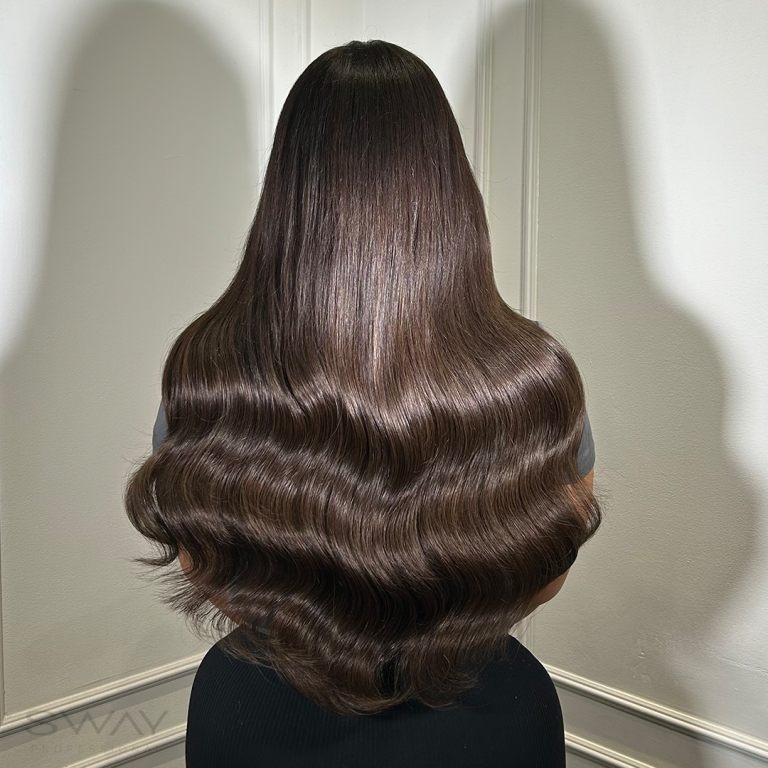
If you’re looking to add volume and length to your hair without the commitment of permanent extensions, clip in extensions are an excellent choice. They offer versatility, are cost-effective, and can be easily applied at home. In this guide, we’ll walk you through the process of choosing the right clip-in extensions and applying them for a seamless and natural look.
How to Choose the Right Clip-In Extensions
Choosing the right clip-in extensions is crucial for achieving a natural look. Here are some things to consider:
Match Your Hair Colour
The most important factor to consider is the colour of the extensions. You want them to blend perfectly with your natural hair. It’s advisable to choose extensions that match the middle and ends of your hair rather than the roots, as this is likely to provide a more seamless blend.
Choose the Right Length
Clip-in extensions come in various lengths. Think about the look you’re aiming for — longer extensions can add dramatic length, while shorter ones can add volume and fullness. Consider your natural hair length as well; if your hair is too short, the extensions might not blend as easily.
Select the Appropriate Weight
The weight of the extensions refers to how thick they are. If you have fine hair, lighter extensions may be more appropriate, as they will be easier to blend and feel more comfortable to wear. On the other hand, if your hair is thick, you may opt for heavier extensions to match the density.
Texture Matters
The texture of the extensions should ideally match your natural hair. Whether your hair is straight, wavy, or curly, there’s an extension that can match its texture. Extensions that perfectly match your hair texture will blend more naturally, making them virtually undetectable.
Applying Clip-In Extensions
Once you’ve chosen the perfect clip-in extensions, the next step is to apply them correctly. Follow these steps to ensure a seamless look:
Prepare Your Hair
Start by washing and drying your hair thoroughly. Clean hair will provide a better grip for the extensions. You can also style your hair as desired before clipping in the extensions.
Section Your Hair
Use a rat-tail comb to create a horizontal parting across your head, starting from the nape of your neck and working your way up. Clip the top section of your hair out of the way.
Attach the Extensions
Begin by attaching the largest weft of extensions at the lowest section of your parting. Open the clips and snap them close against your hair. Continue adding wefts in sections, making sure each weft is secure before moving to the next parting. Blend the extensions with your natural hair by gently brushing them together.
Blend and Style
Once all the wefts are in place, release the top section of your hair and gently brush through to blend your natural hair with the extensions. You can use a curling iron or straightener to style the extensions and your natural hair together for a more cohesive look.
Finishing Touches
Examine the back of your head with a mirror to ensure the extensions are not visible and are well blended. You can use a small amount of hair spray to set your style and smooth any flyaways.

